

Pavé Stone Setting
A popular method of stonesetting, "pavé" comes from the French word for paved or cobblestoned. In jewelry, this refers to surfaces that have been set with diamonds or gemstones close together in a patterned arrangement. This technique gives the glamourous appearance of a continuous covering of jewels.
Products Used for Pave Stone Setting
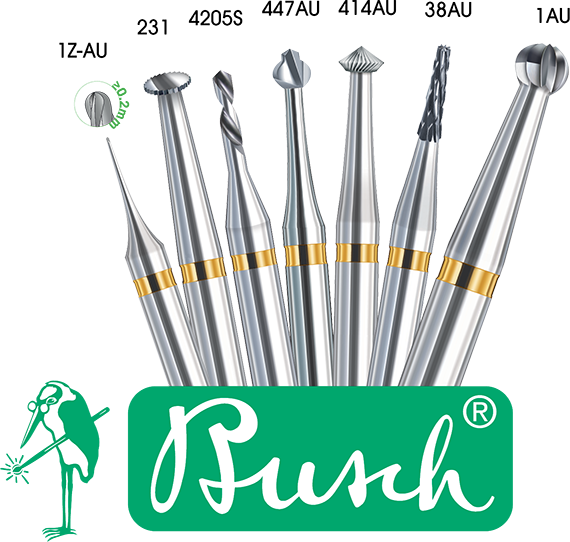
Busch Carbide Burs
5120
Pave Tool Set
5120
Pave Tool Set

Pave Stone Setting Process

1. Mark a Grid
Measure and carefully scribe a grid where the stones will be set. The squares of the grid should be large enough to fit the desired stone size with a small amount of space between stones.

2. Mark Pilot Holes
Mark the center positions of the stones where pilot holes will be drilled.

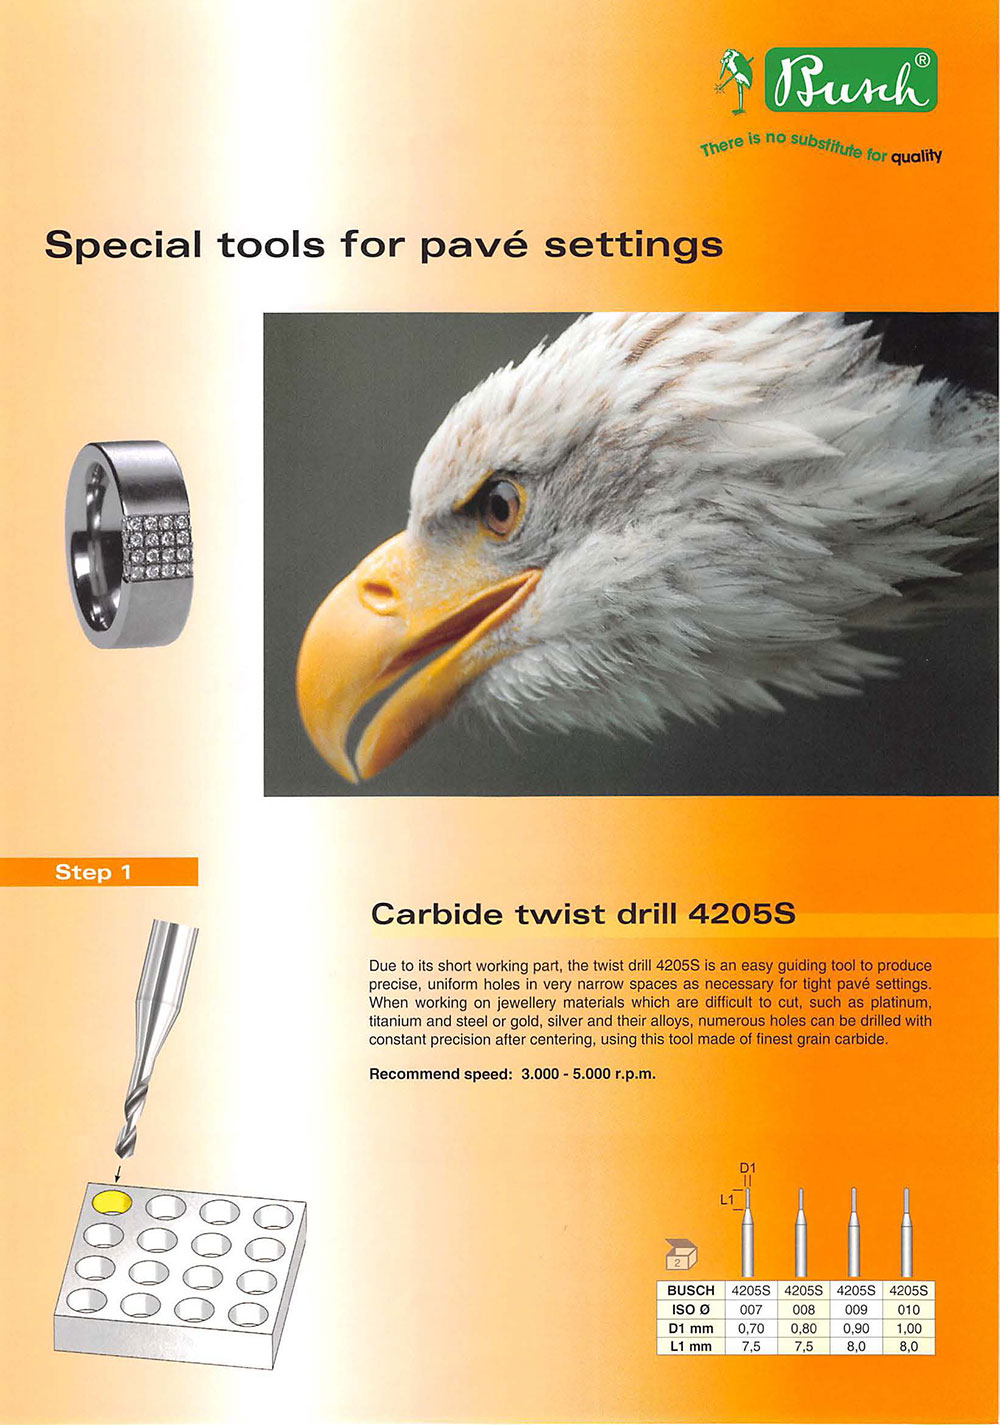
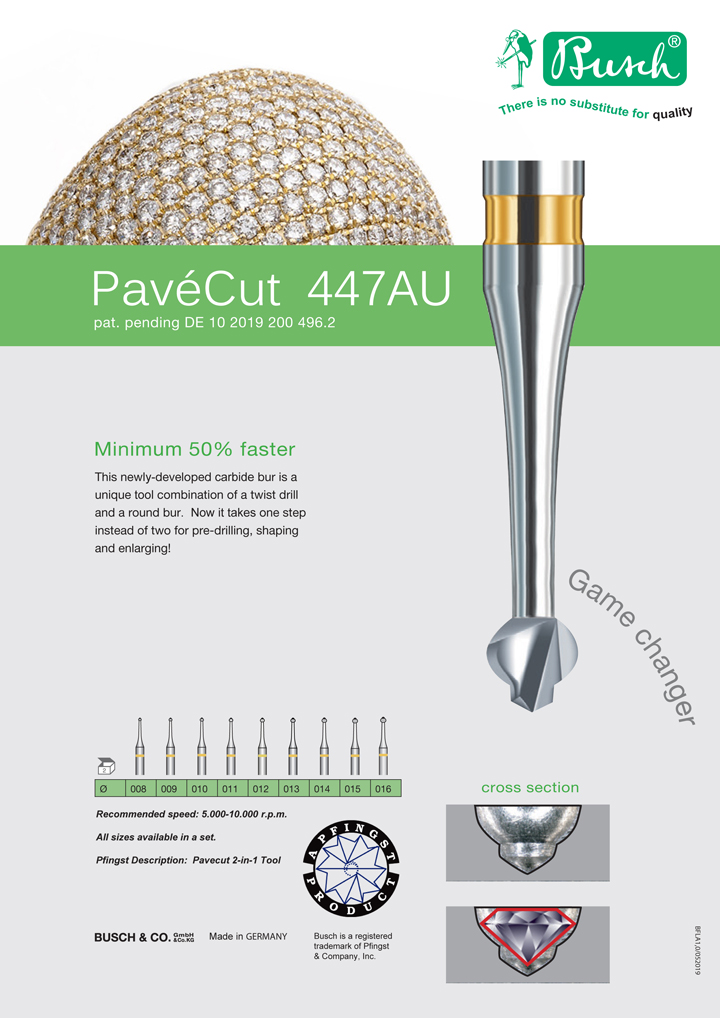
3. Drill Pilot Holes
Drill pilot holes using a twist drill bur that is about one-half to two-thirds the diameter of the stones.

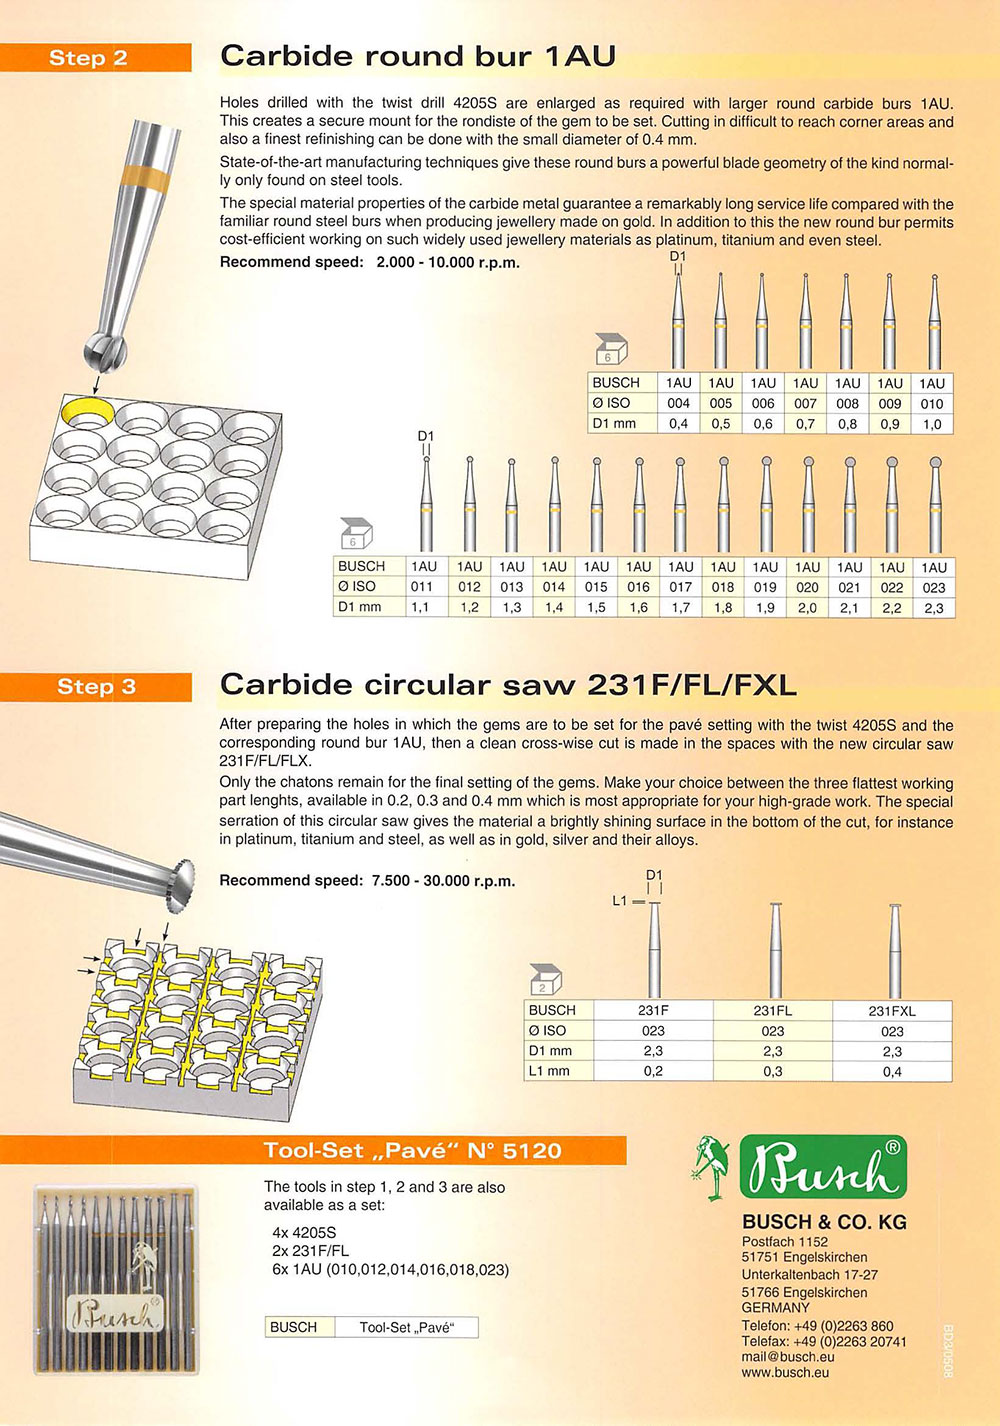
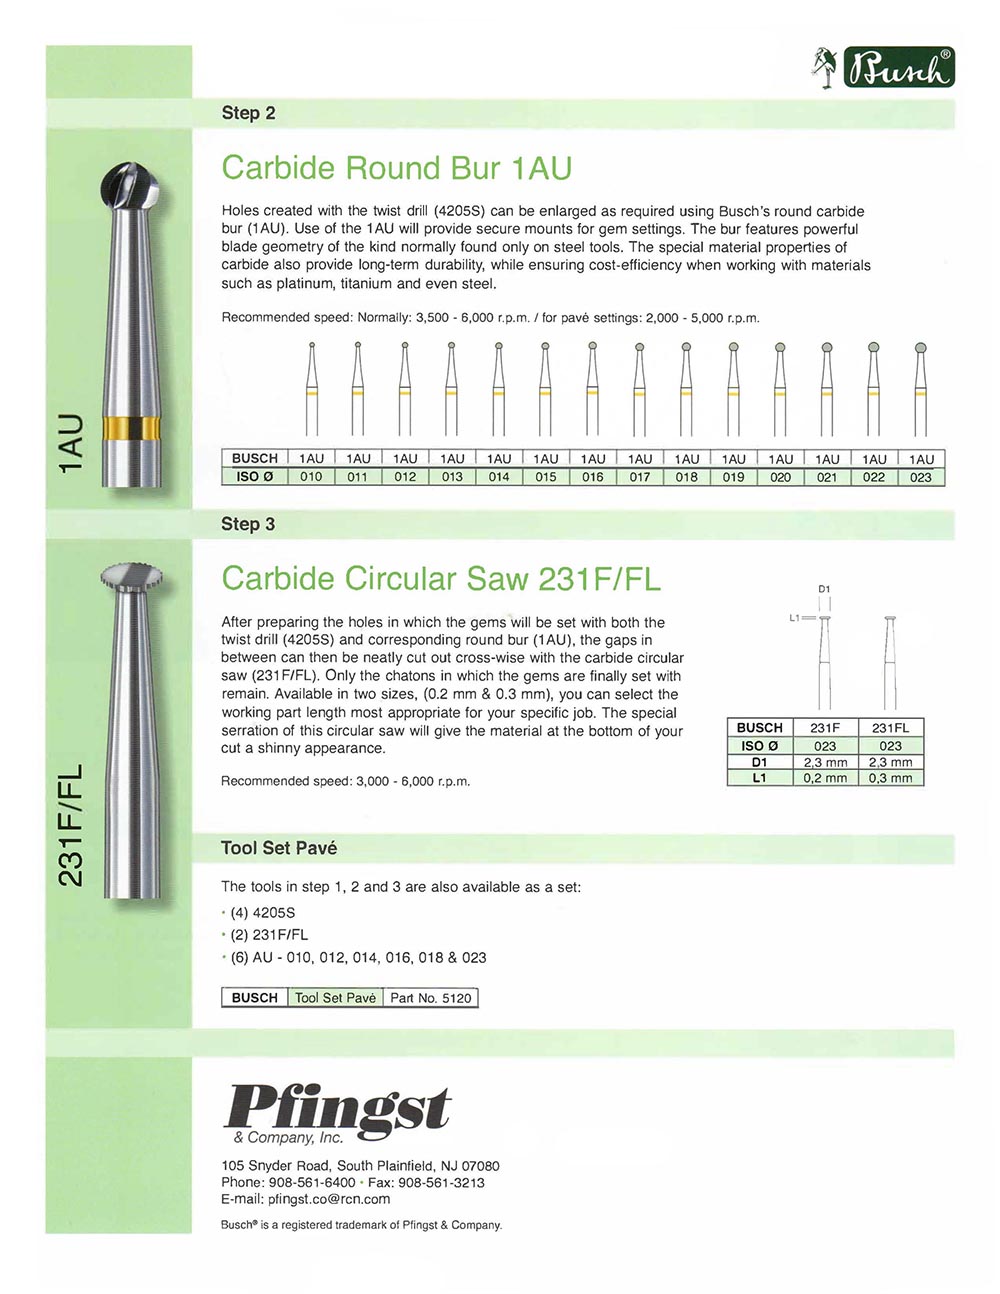
4. Burr Holes
Use a round bur that is the same diameter or slightly smaller than the desired stones. Gradually deepen the first hole to where the table of the stone is flush with the metal surface of the jewelry. Cut out the other seats to match.

5. Saw Grooves
Use a saw to divide the metal between the seats to create prongs, or grains.

6. Set Stones
Set the stones in the seats, ensuring the gem tables are even and flush with the jewelry surface.

7. Raise Grains
Use a half-round scorper to raise the grains and secure the gemstones in place.

8. Polish Clean
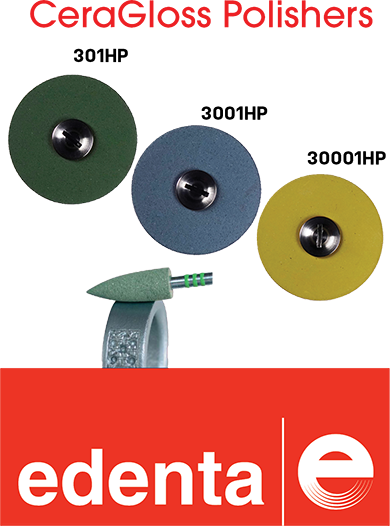
Remove excess debris using a rotary polisher.

9. Finished Pave Setting
Use a beading tool to round off the grains, and your pavé setting is complete.